Hello and welcome to FP Journals!
I present to you a behind-the-scenes peek at how a hand-stitched journal is made here at FP Journals.

|
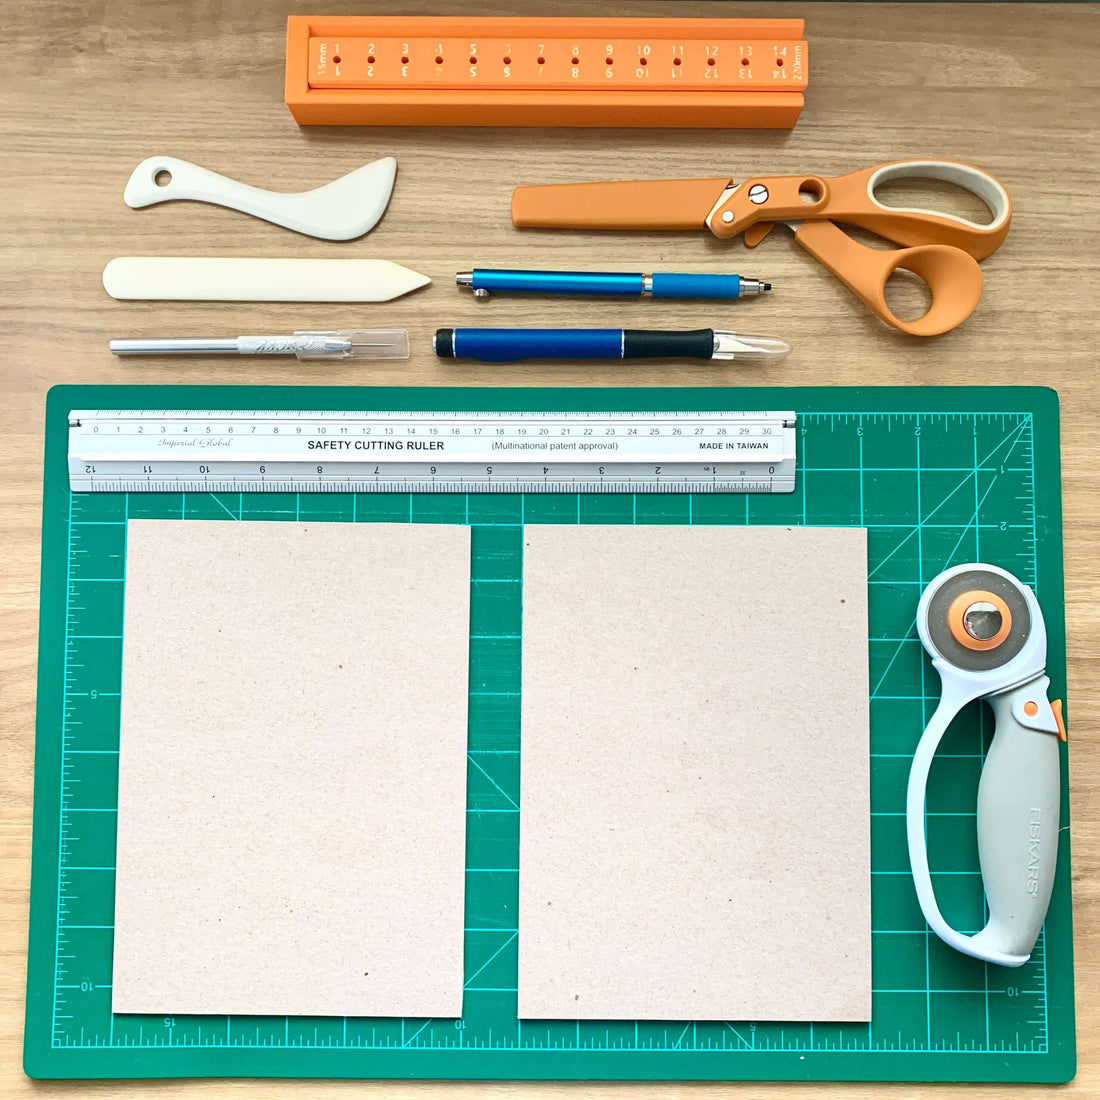
Step 1: Fuse and Trim Cover Boards This process usually spans between 1 day to a day and a half. It starts when I source a few boards that will suit the size of journal intended. I pick 3-4 pieces and fuse them together with a strong glue. The glued layers will then become a thick hardcover later on, but they need to “set” for some time before they can be used. This is usually done by placing them in a safe area and then waiting overnight for the setting process to take place. The next morning, I trim the boards to size and give them a nice flush, clean edge. |
|
Step 2: Choose Cover Paper, Trim, and Fuse to Cover This next step is the fun decorative part. This is where I carefully select the cover sheet designs for the covers. After selection, I trim them to size and fuse them to the cover boards. |
|
 |
Step 3: Cut Mitred Corners, Crease Flaps, and Glue. Once fused, the flaps need to be mitre cut and glued down. Then, the inside cover pages are prepared and glued as well. |
|
Step 4: Print Inner Pages, Fold, and Punch Signatures and Covers The heart of the journal is the pages. This is where they come into play. I custom print each sheet with page numbers, dot grids or lines, and a dashboard and index (where applicable). After printed, they are folded into sectioned “signature” booklets and lined up for punching. After the cover and signatures are all punched, they are lined up in order for sewing. |
|
 |
Step 5: Prepare for Binding (Hand-Stitching) It’s almost done! The stitching process is always the most exciting part. It is where the journal takes its shape and becomes one entity. This process can take a couple of hours, depending on how many signature booklets are added. |
|
Step 6: Completed Journal, Ready for Shipment! Ta-Da! Here we have it! A completed 100% handmade journal. Enjoy! |
 |

